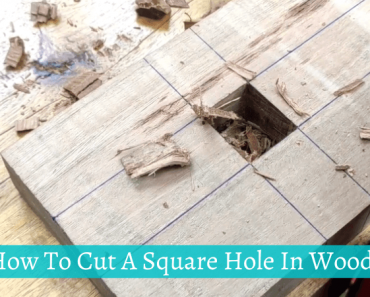
Cutting circle with jigsaw is neither difficult nor easy at all.But the job at least requires some attention and techniques.You cannot draw a perfect circle by hand, so don’t expect you’d be able to jigsaw one without the right technique. Using a jigsaw and little preparation you’ll find it painless and a sating experience cutting circles in wood.
Whether you need circled wood or chipboard for round tabletops, shop clock, or toy wheels, what is the efficient and safe way of doing is arguable. It is difficult to get perfect diameter and size circles with other tools. Where jigsaw serves as the perfect tool to cut circles or semi-circles as required for the projects.
Tips for cutting circle with jigsaw:
- Use only dry plywood, MDF etc. as wet wood has added resistance, also the lamination will be chipping when cut and can potentially damage the blade or yet the entire jigsaw.
- Jigsaw blade should be replaced if you find that its teeth are not sharp enough or the blade is curved.
- Using an electric jigsaw you need to care about the edges, try to do key cutting lines along the surface fibers, that’ll save you from chipping. Hand jigsaw is unlikely to miss the marked line.
Things you’d need to cut a circle with a jigsaw.
- What type of jigsaw blade you employ is important as some are going to work better while others won’t. A scrolling jigsaw is a perfect blade for this type of cut. Although other types can also be used, the general rule is the thinner the blade the better. Thicker jigsaw blades will not be able to make neat circular cuts.
- A circular cut jig can be of great help if you need accurate round cuts (I have explained the method to build one below). Or you can opt for a freehand version to cut the circle, which might not be an accurate method to cut a circle.
- You’d also need plywood, MDF or any other material to serve in making a base and jig.
- Small things like a marker, screws, and a working surface.
Internal Cut With Freehand Style
Start off by marking the cutting line. For markings, you can use a beam compass or trammel head. In all cases, if the waste side is the inside or the outside, remember to leave enough room for finishing later. If your waste side is outer drill the pilot hole on the outside of cutting line and if the waste side is inside drill the starter hole inside. Mark the center of the circle as well.
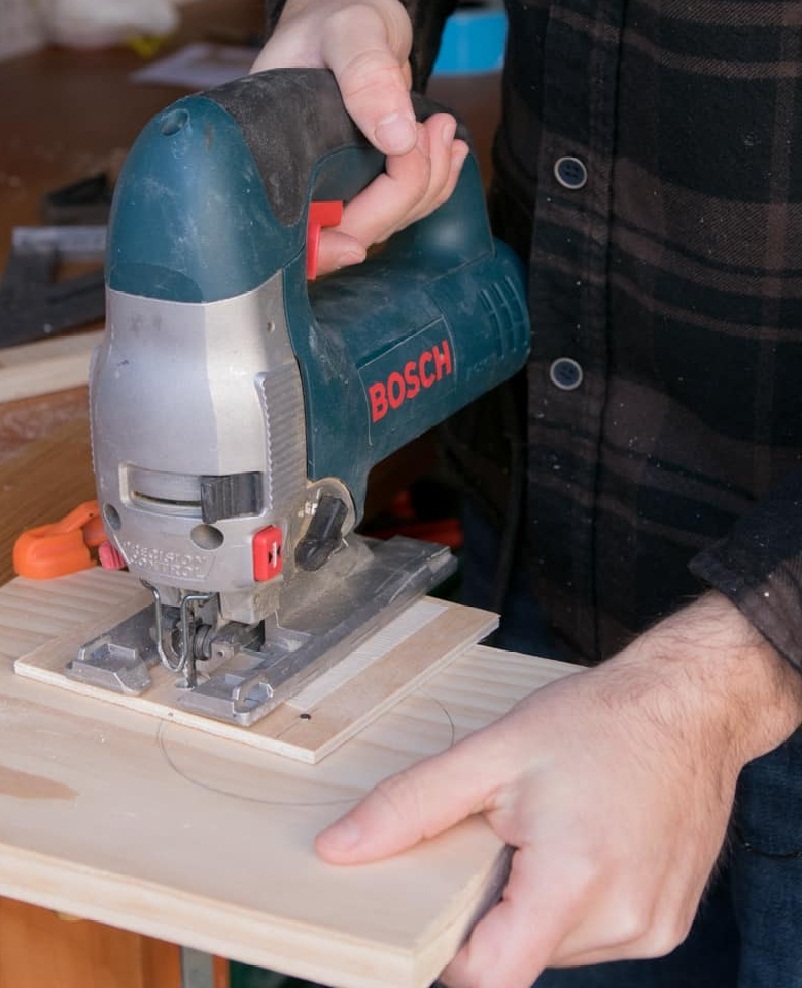
If it’s a half circle you’d be able to start the cut on the outside edge of the workpiece. Otherwise, you would have to drill a starter hole to make room for jigsaw blade. When making a pilot hole by a drill bit, keep in mind to drill a larger hole to fit the jigsaw blade. Ensure to drill the hole inside the marked line and touching it.
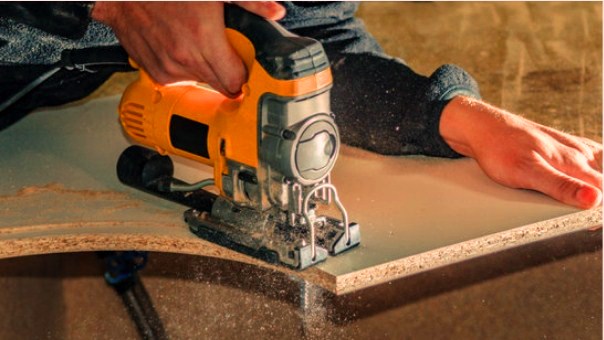
Now you can start the freehand cutting around the marking. Keep your focus on the cutting line, and check the shoe is completely firmed on the surface of the workpiece. Let the blade do the work steady, consistent and with constant pressure throughout the cut.
Keep building your way through the circular margins until you have the cutout piece you need. It’ll be fitting to prop up the cutout piece so to allow the piece to hold its position and not lean prematurely and destroy the circular trajectory.
Building A Circle Cutting (Guide) Jig With A Jigsaw
You can also use pre-made jigs available online or at the nearest store. Here you are learning to make your own circle cutting jig fitted with a jigsaw.
Step 1: Choose a base piece larger than the shoe of the jigsaw. This will house the base, connected to the jigsaw and the circle jig for pivoting.
Step 2: Attach smaller barrier pieces on two edges (either sides or front and a side). Also if you want extra safety you can install barriers on either three or all four sides.
Step 3: Drill regular holes in a longer beam piece which will be used as a jig to increase or decrease the diameter of the circle and serve as the pivot point in cutting the circle.
Step 4: Attach the beam to base with pocket holes. Now as you’ve designed the jig and the jigsaw base you need to put together the two parts. (as an alternative you can cut a single piece of plywood or MDF to serve as a base for jigsaw and the beam as a jig adjacent to it. )
Source: manmadediy.com
Step 5: Mark your blade position and drill a hole in the base with a drill bit. Place your jigsaw on to the base you designed and drill a hole to make room for the jigsaw’s blade.
Step 6: Attach jig to work surface loosely with a screw. First measure the diameter of the circle you want to cut. Then mark the pivot point, place the jig on to the center point and screw with a screwdriver (according to your desired diameter).
Step 7: Drill a starting hole in your workpiece. At any point on the circle, drill a hole for the jigsaw’s blade to fit in and be able to start the cutting.
Step 8: Cut a circle with steady, firm pressure forward. Now as you have attached your jig and the jigsaw together, measured the circle diameter you want. Cut through the wood and enjoy a perfect circle cut with a jigsaw.