The hard and brittle ceramic tile is a man-made rock. It has a shiny exterior glazed with a thin sheet of glass, which is slippery and makes drilling even more difficult. The drill bits if not held precisely slide around on the slippery tile making it dangerous for both the tile and the drill bit.
The drill bit is the first thing you should be concerned about while drilling ceramic tile or cutting a hole in tile, because if you have a drill bit used for metal or wood, well that one isn’t going to work on drilling a ceramic tile. What you need is a drill bit with a coated carbide tip. And also understand all ceramic tiles are not the same, with varied stiffness.
Now , Want to cut a hole in a ceramic tile? Congrats, you are at the correct place. Let’s dive right in 🙂
Table of Contents
Drilling Ceramic Tile
Step 1: Checking The Tile
First of all check the tile for any cracks or fissures and if the tile is cracked, you need to stop right here and replace the tile afore you continue further.
Step 2: Take Protection

source: freepic.com
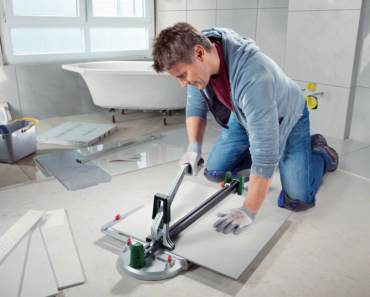
Safety should be the first priority while drilling ceramic tile so get yourself a silica dust respirator and a pair of glasses, ear muffs for ear protection, and some gloves for your hands. In case the tile shatters you have to protect yourself.
Step 3: Choosing Perfect Drill Bit

source: freepik.com
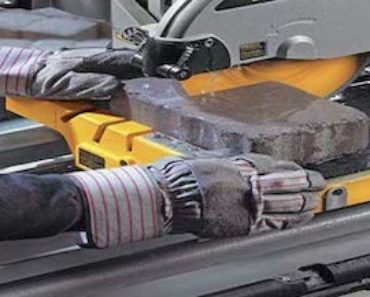
After that, you need to find the perfect drill bit for the purpose. Because the conventional steel drill bit might smash the tile or be unable to pierce the tile at all.
You can have the following options when choosing a drill bit for your situation.
- Masonry bits are strong, made from carbide tipped steel. But they have a higher risk of smashing the tile due to their shape. Still extensively used because they can with the right method serve the purpose.
- Diamond bits are used to drill more tough tiles and as a result, are expensive.
- If drilling a larger hole, than you’ll have to use a hole saw bit.
- Ultimate recourse can be a high-speed steel bit. But they won’t last long and wear out after some holes.
Step 4: Using Tape To Avoid Slippery
Use masking or painters tape to tape over the marked area in a cross shape. The tape helps reduce the chances of chipping on the edges of the hole. And most importantly the tape will help the drill bit to hold its grip on the slippery ground of the ceramic tile.
Step 5: Making Small Hole
Make a small hole with a nail set because the drill bit might capper and jump around from the exact drill point due to glassy smooth surfaced tile. Or you can use the drill screw function to make a small pilot hole before you begin the real drilling. Be gentle as to avoid any damage to the tile.
Step 6: Start Slowly
For drilling a ceramic tile you need to set the drill to low speed with adequate pressure on the drill. Slowly work your way through the drilling, don’t thrust hard or put erratic force as it will certainly break the tile. Let it take its time, do a wave-like pattern to completely drill a hole.
Erratic pressure can cause fissures on the backside and the tile becomes weak to the extent that it might create larger holes than intended.
Step 7: Watering On Drilling Spot
While drilling constantly drip water on the drilling spot. Drilling hard materials can create friction and heat, that can lead to scorching the drill or even break the tile. Watering can prolong the lifespan of the drill bit. Use a cooling fluid like the drilling oil or special coolants for cooling the drill bit.
Tips For Drilling Ceramic Tile:
- Point to remember here, you need to have a forward drill and not reverse because it won’t work.
- Using a hammer drill setting can potentially damage your tile. Balanced pressure should be maintained throughout the drilling and won’t allow for fissures.
Are You Wandering How to drill a large hole in Ceramic Tile?
There can be many settings when you may need to drill a large diameter hole in the ceramic tile. If you want a large diameter hole in the ceramic tile. You can use a time-saving method via diamond core-bit or follow the inexpensive method, where you just need to have a carbide tipped masonry bit, that you can employ to cleverly save your life, without a need to buy a hole saw drill.
There can be many settings when you may need to drill a large diameter hole in the ceramic tile. If you want a large diameter hole in the ceramic tile. You can use a time-saving method via diamond core-bit or follow the inexpensive method, where you just need to have a carbide tipped masonry bit, that you can employ to cleverly save your life, without a need to buy a hole saw drill.
Step 1: Start by marking an outline of the hole on the tile with a permanent marker.
Step 2: Then using a nail set punch a sequence of dimples around the edge of the tile marker.
Step 3: Drill holes at the indentations drawn earlier, using a ¼” carbide tipped drill.
Step 4: To remove the glazing between each of the holes, use a chisel.
Step 5: To knock out the plug of drilled tile, use a hammer and gently tap around the hole.
Diamond Drill Bits for Drilling Ceramic Tile
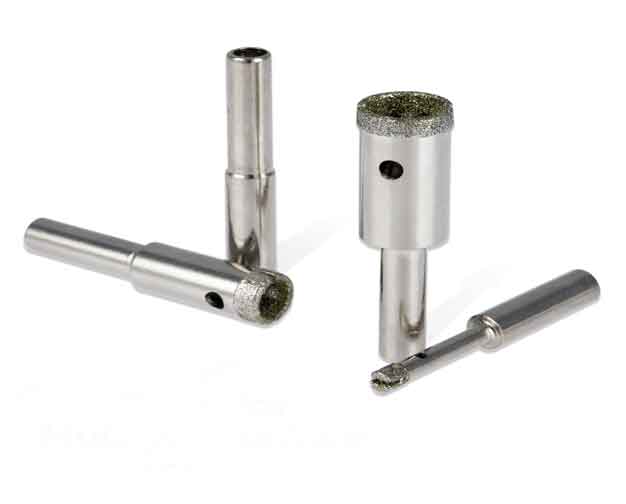
Diamond core bits are a more convenient and better option. As they are fast and save a lot of time to finish projects on time. Also, they can be used with a drill or an angle grinder. But the thing with diamond core bits is they are not all created equal, as some are superior and work longer periods and cheap might get useless after some usage and leave chips on the edge of the tile.
Step 1: Safety first, get yourself a silica dust respirator and a pair of glasses, ear muffs for ear protection, and some gloves for your hands.
Step 2: Now we start the real work. Begin by positioning the core bit at a 45-degree angle at the marked position, slowly move it to a 90-degree angle as you have secured the position of the drill. Now use wave-like patterns to complete the cut.
Note: You can use a cooling fluid to cool down the core bit if you are making a lot of holes, which will prolong the life of the core bit also.
Step 3: Safely unplug the drill before cleaning the slug off the diamond core bit. There’s a little hole on the side of the core bit, put a screwdriver up in the hole and pop out the ceramic slug.