You don’t always have to hand over a tiling project to the experts. Granted, tiling a bathroom floor is a moderately difficult task to do on your own, especially if you are inexperienced. But with the right kind of preparation and research, you can easily manage a DIY project of this magnitude. And it will also save you a tidy bit of sum, anywhere between $500-$1500, in labor costs. So check out this in-depth guide on how to tile bathroom floor to get this weekend DIY project rolling!
Following all the steps carefully ,you will be able to build your dream bathroom
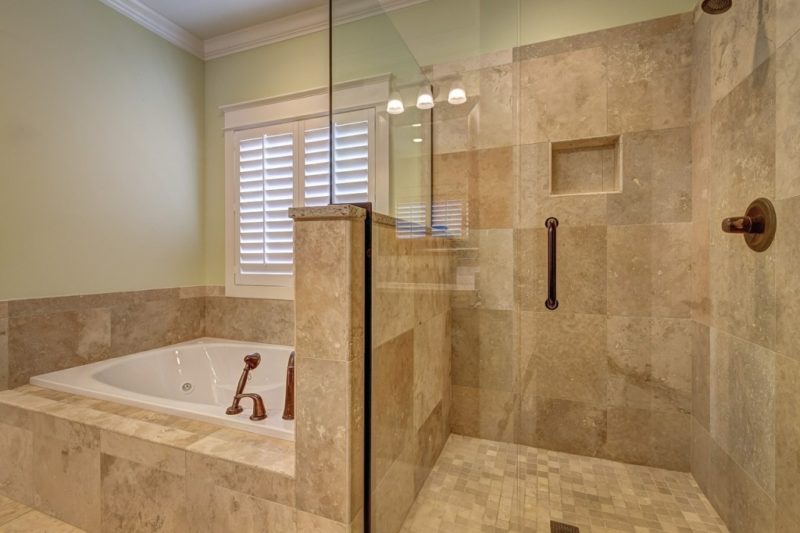
Table of Contents
DIY Bathroom Flooring Project Checklist
whenever you wonder how to tile bathroom floor at this moment You will need the following for tiling project :
Tile Cutting Tools (Any one or a combination of the following):
Other Tools & Accessories
- Measuring Tape
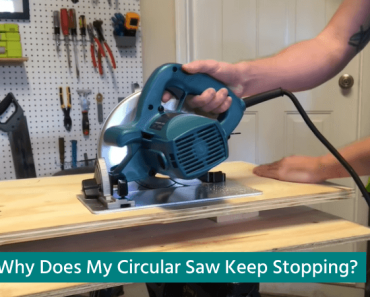
- Circular Saw
- Utility Knife
- Notched Trowel
- Cement Board
- Large buckets
- Sponge
- Level, square, chalk line
- Hammer, nails
- Grout float
- Drill
Materials
- Tiles
- Tile Spacers
- Backerboard and screws
- Thinset Mortar
- Grout
- Sealant
Steps for Tile Installation
a.Preparing The Floor
For best results, the bathroom floor has to be adequately prepared before applying new tiles. The underlayment has to be flat, strong and sturdy, and at least 1-⅛” thick. Clean and scrub the surface, removing all dirt and debris. Get the toilet and vanity out of the way to clear space before getting started with the floor prep. Measure the space using a tape to know how much material you will need.
Consider replacing bathroom floor, if the subfloor is linoleum or cushioned vinyl. Put fresh underlayment on the regular vinyl or wood. You can lay new tiles on existing tiles, but only if they have a level surface, are in good condition, and are not too glossy.
Backer board is the best choice underlayment for DIY bathroom tile flooring projects. You can install it on a wooden subfloor using thin-set mortar and screws.If you have a concrete slab floor, you can install your tiles directly onto that. Just make sure that the floor is as flat as possible.
b. Deciding the Tiling Layout for tile bathroom floor
This is where proper planning is required. First, find the wall surface in the bathroom that is more visible than all others. This will be the starting point of our tile work. The aim is to lay the tiles square to this wall.
Create a 90-degree line from the center of this wall using a chalk line. From the middle of that line, draw another perpendicular line to both sides to get the first reference lines. Lay a row of your selected tiles along these lines from their point of intersection in the middle. The aim of a good layout is usually threefold:
- Getting full tiles along doorways, bathtub, or shower
- Ignoring having too narrow tiles along walls (less than 2 inches thick)
- Avoiding cutting tiles as much as possible, especially tricky “L” shaped cuts
The chances are that you will not be able to meet all three of these goals with your layout. Adjust the layout until you achieve at least a couple of these goals.
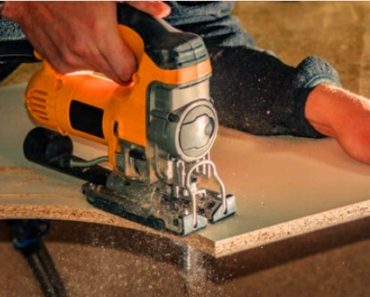
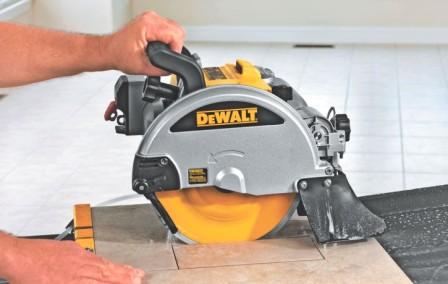
C. Cutting the Tile
For simple straight cuts, a tile cutter or snapper is the simplest tool. A better option would be a tub saw or wet saw, especially if you have a lot of tiles. Unless you are planning to do a lot of future tiling projects, look at renting these tools instead of buying. For uneven or irregular cuts, use a tile nipper to nibble off small pieces until you get the desired shape. For a cleaner cut, you can also use a rod saw with a carbide blade.
Also Read : How to cut porcelain tile
d. Applying Mortar
Before this step, layout the cut tiles to ensure that you are satisfied. Then remove the tiles, and then ready the mix of thinset mortar. Use the flat blade of the notched trowel to apply an even, thin layer of the mortar. Apply in small portions along sections.

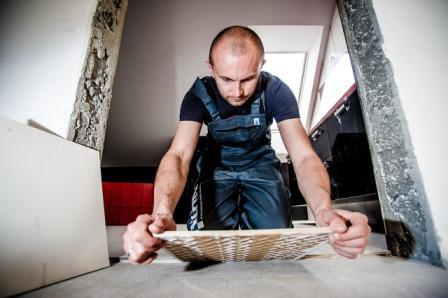
e. Placing the Tiles
Place the tiles over the thinset in the pre-planned pattern. When you begin, install tile in a corner, not in the center. Press it down and twist it a little to spread the mortar on the back.Don’t forget to use the spacers maintain equal gaps with straight lines between the tiles. Make sure that all tiles are at the same level height.
f. Drying tile floor
Once all the tiles have been placed, leave them untouched for 24 hours. This will allow the mortar to set correctly. One good option is to set the full tiles first, wait for a few hours and then cut and set the outer tiles. Then come back the next day to complete the job.
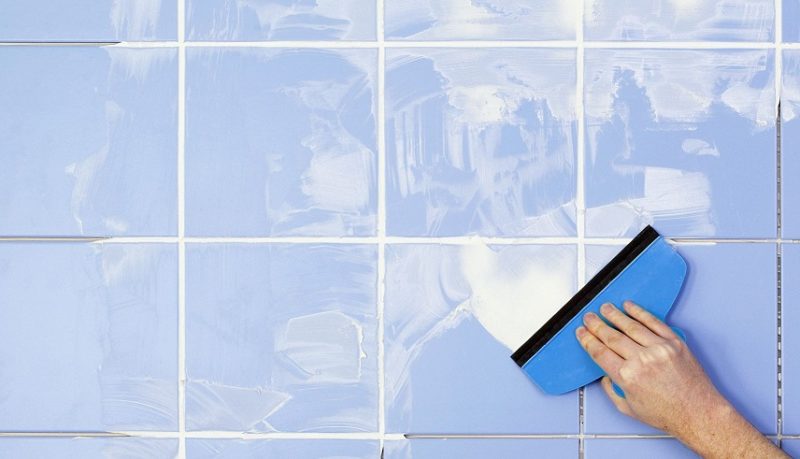
g. Applying Grout
Remove all the spacers once the thinset has fully dried and hardened. Mix the grout according to the instructions and give it ten minutes to stand. For the average bathroom tile flooring, you can use sand grout. Force the grout into the gaps between tiles using a grout float.
h. Cleanup
To tile bathroom floor,Don’t leave the cleanup until the last, if you are tiling an area greater than ten squire feet. The excess grout on the tiles will harden if you give it too much time. Use a bucket of clean water and a soft sponge to work the grout on the tile surface gently.
Tips For Tiling A Bathroom floor
To tile bathroom floor the following tips should also be considered
- Tasks, like cutting/grinding down tiles to tile bathroom floor, or removing old flooring, can release a lot of fine particles as well as flying debris. And working with stuff like thinset and grout can also irritate sensitive skin. Use adequate protective gear as much as possible. Consider having protective goggles, masks, and gloves.
- Stuff like thinset and grout should only be mixed in small batches. They tend to harden over time, and once they start doing that, you will have to throw them away and start with a fresh batch. For example, when dealing with large flooring projects, try to mix only enough grout to last you for 30 minutes. Do not add water to chunky grout or thinset to reuse them.
- If you have an older vinyl flooring, try to leave it in one place as much as possible. Only consider tearing up vinyl if it is too damaged, or there are large areas where it is loose. Always be mindful of the hazard of asbestos particles when dealing with old vinyl. Consider calling your local health department for advice before proceeding.
- Avoid trying to save money using cheap grout and thinset for tiling bathroom floor. Get the more expensive brands for maximum adhesive strength and increased durability. If your grout or thinset can be mixed with water or additive, always consider adding additives.They contain polymers that will considerably improve the workability and adhesive strength of both grout and thinset mortar.